I ran the backend and frontend ,but both are running on classic ui and I can't figure out how to use Volto output, can someone please tell step by step, been trying for hours
1 Like
Frontend on classic UI? Can you mention the commands used?
I created a Virtual environment first, then made a training directory , cloned the backend repo, and make start command to run the backend, it opened on saying create a new site, which on clicking showed the classic UI of Plone. How can I run it on Volto?
You can follow this guide to run docker images for frontend as well. Containers – Install — Plone Documentation v6.0
Thanks , but is there any other way to run, I doing each step mentioned in documentation, and still its not running
Can you let me know the traning you are following? It's hard to "guess" things without knowing the actual context.
yeah I am following the mastering Plone 6 training, its has installation documentation in it
I found this on the traning website. 5. Installation – Mastering Plone 6 development — Plone Training 2023 documentation
1 Like
yeah this only. I am facing a lot a issues in installing it, can you please spare some time to help me install it properly
If you encounter problems. Whats your log saying?
If you followed the training. At which step do you see something you do not expect or differs from the training. Please write the step here. We need details to be able to help.
okay,In the Master Plone6 documentation
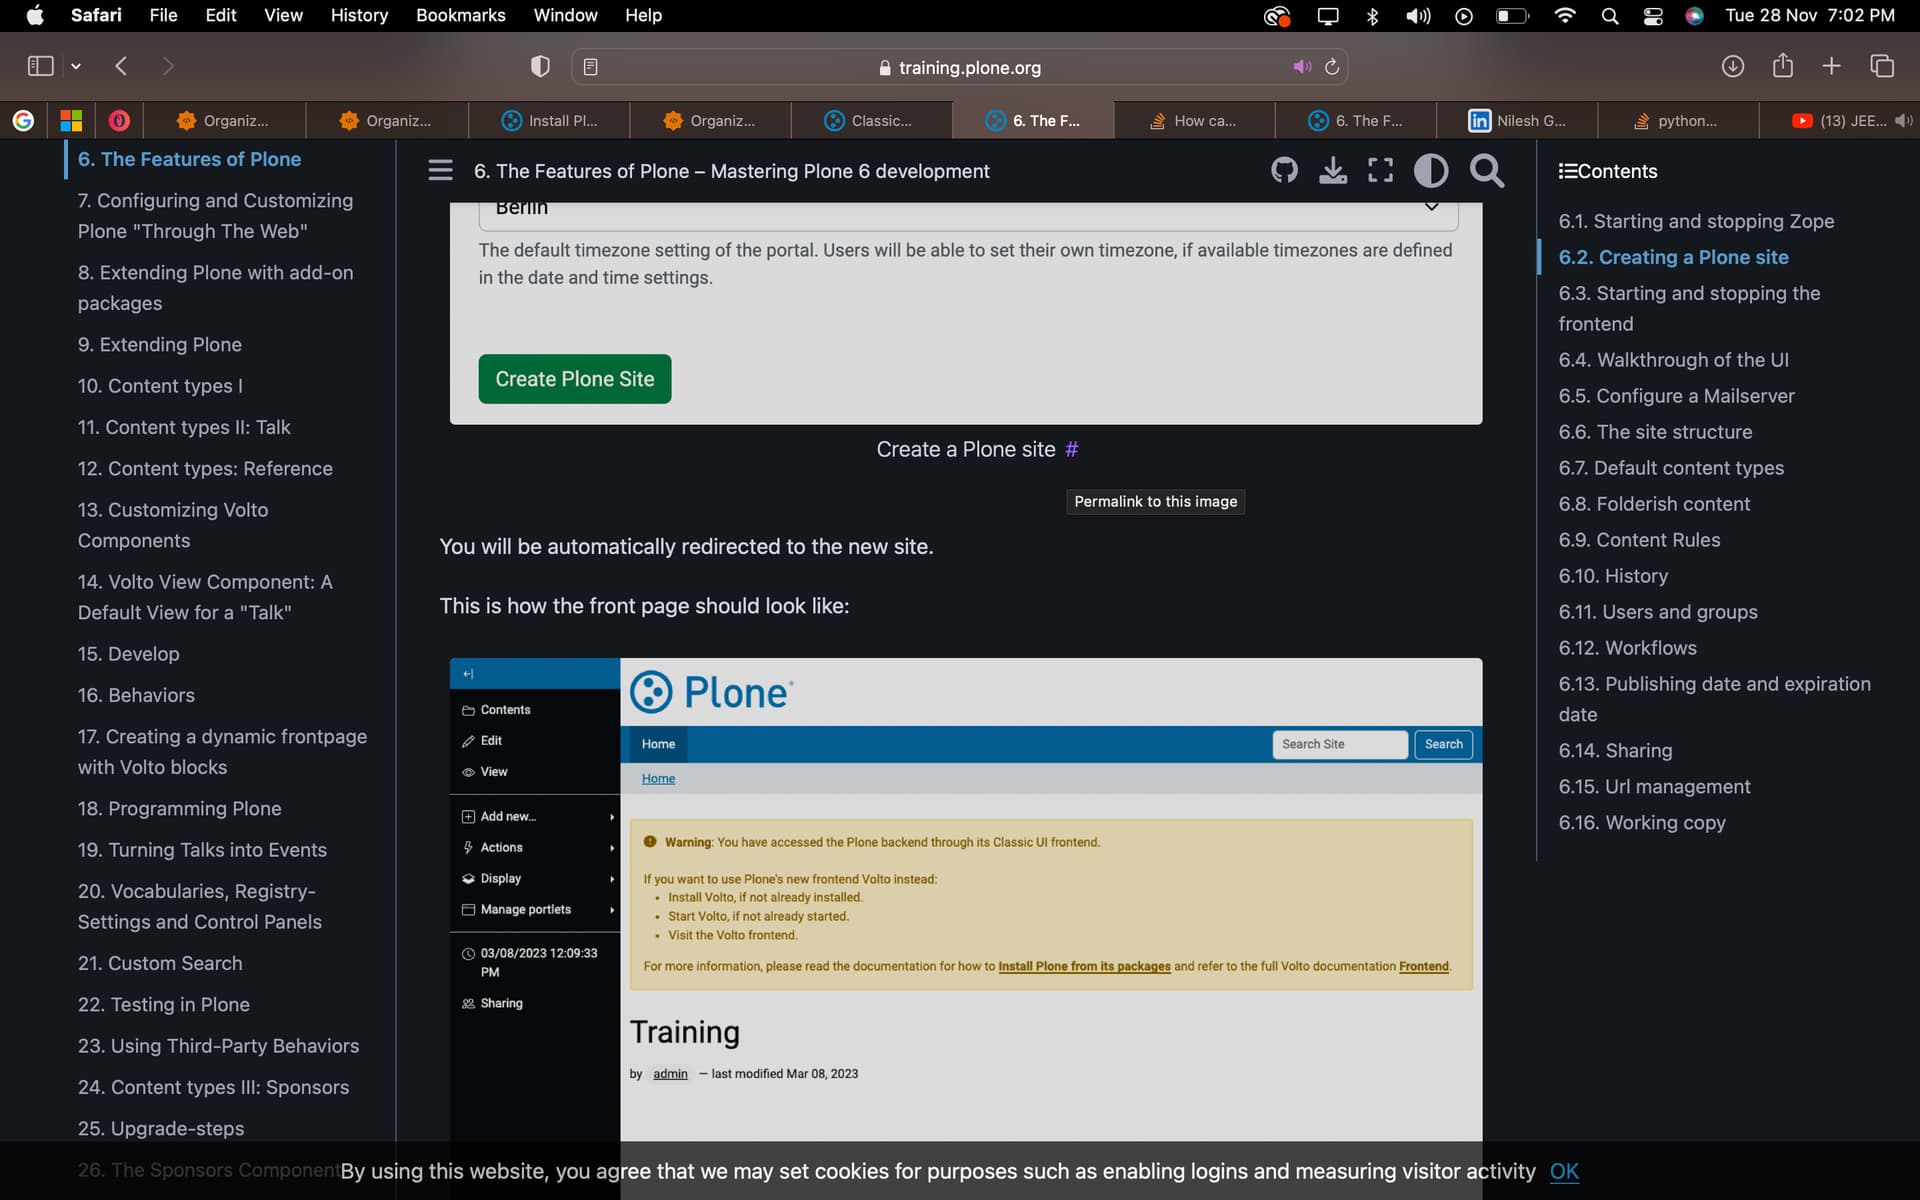
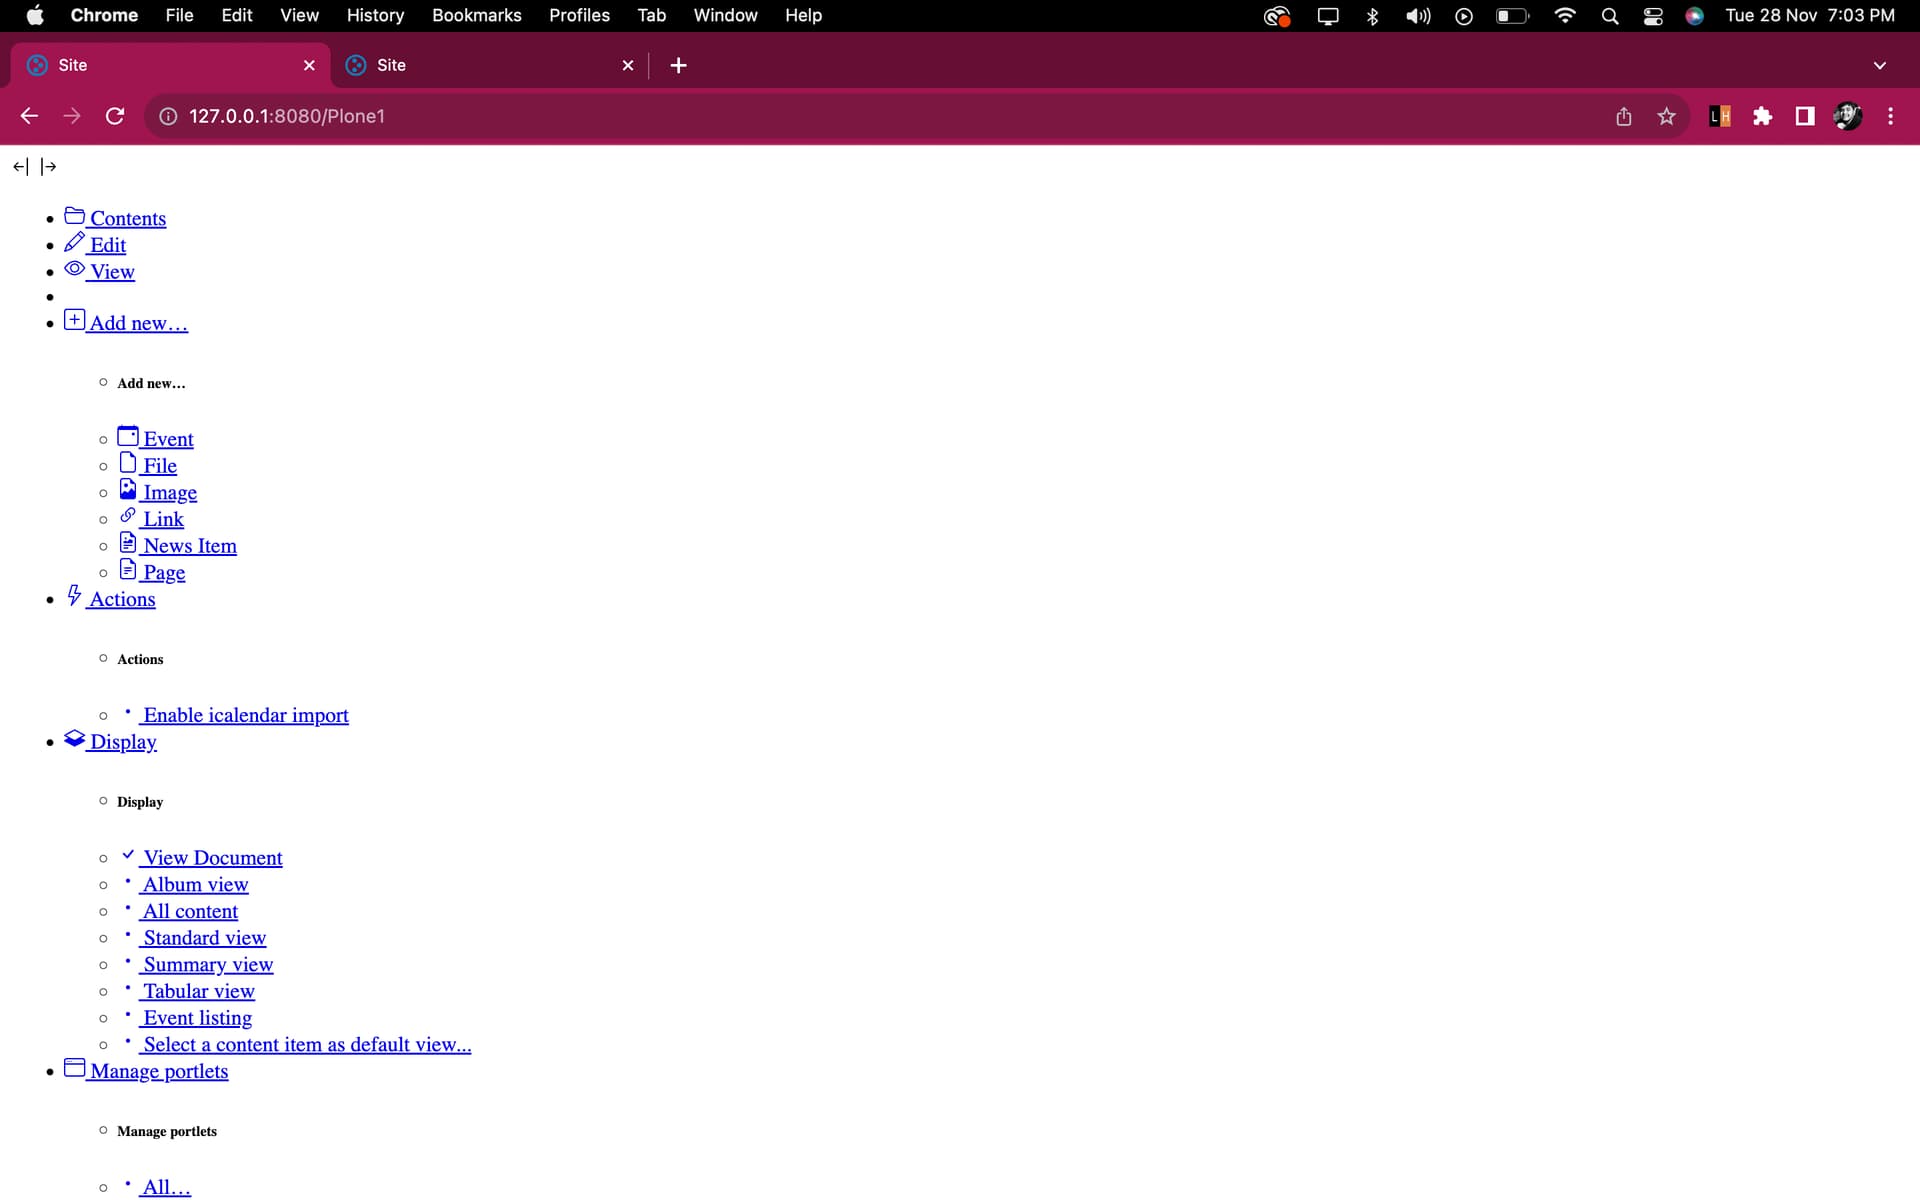
point 6.2-- Features of Plone,create a new Plone site, after creating it, in the documentation, a nice Volto output is there on screen , but when I am doing so, I am only seeing html with links, which I can't even interpret
Screenshot and error message please.
Does the log mention an error?
Before researching any further. Please create a new directory and start new with 5. Installation – Mastering Plone 6 development — Plone Training 2023 documentation
To make your life easier: follow the steps litarally: if it says create a Plone instance with identifier "Plone", then stick to it and do not create one with "Plone1". The frontend wants this or a custom configuration is necessary.
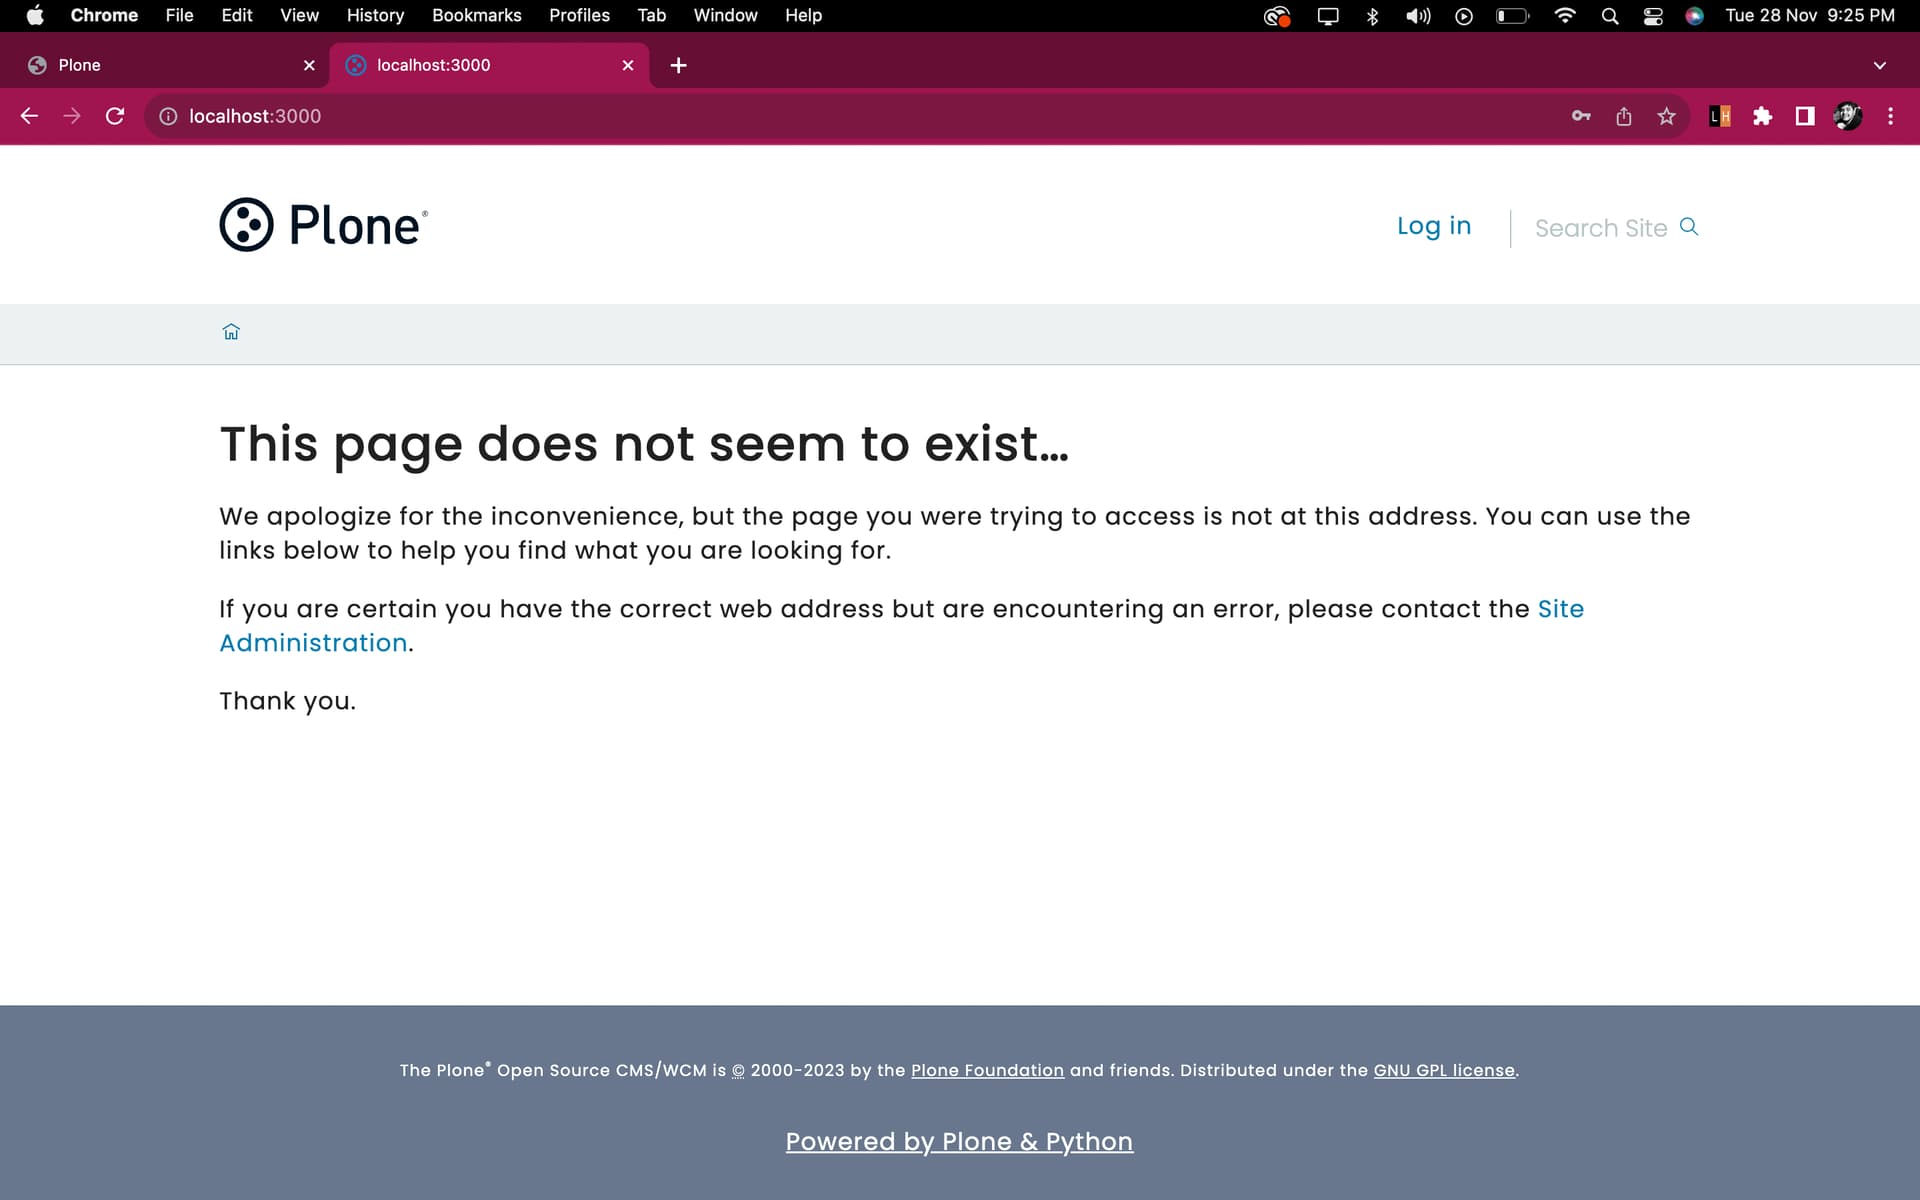
I followed your instructions, started all over again , made new directory,installed backend, ran it, installed frontend ,but now when I am pointing my browser to localhost 3000 , its showing that page you want doesn't exists
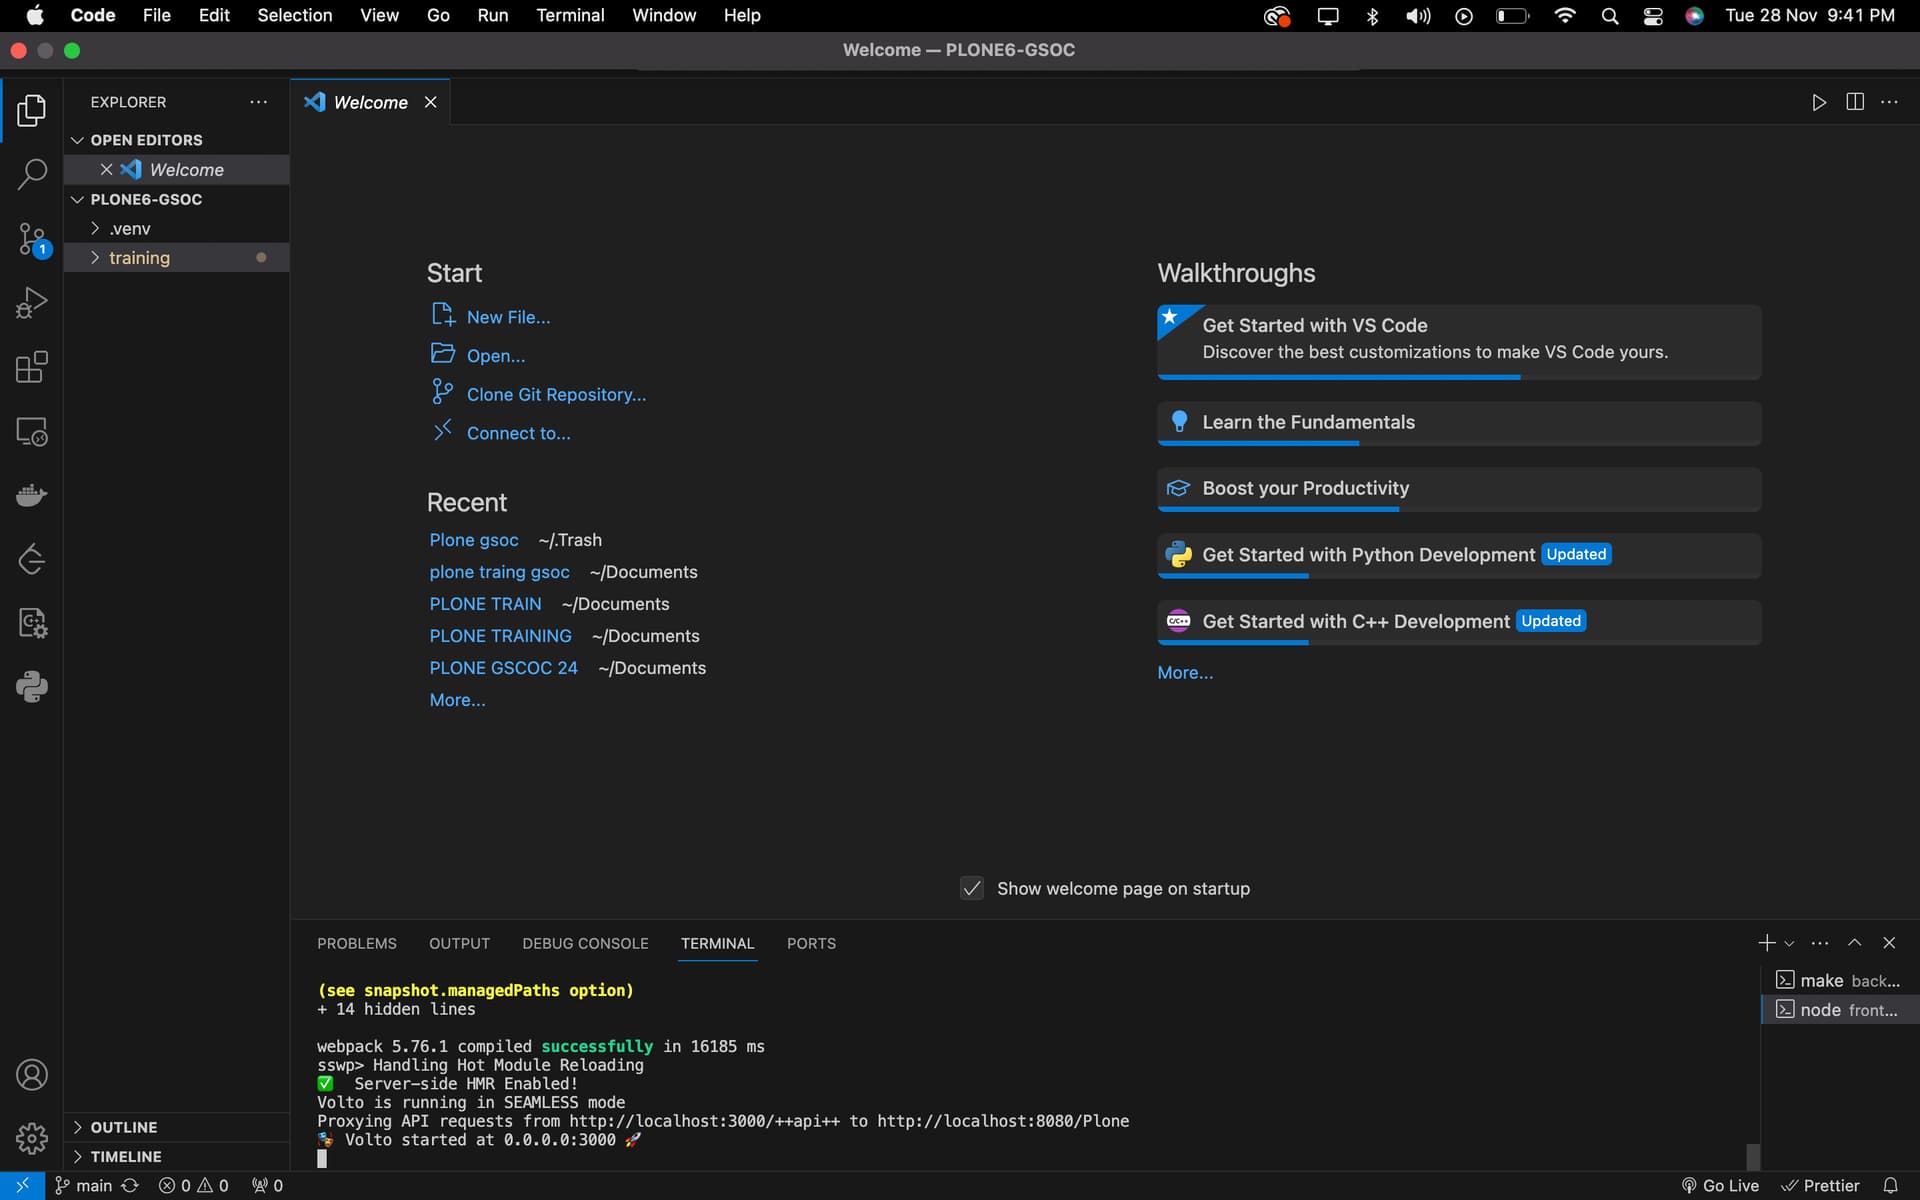
Does your log show the following?
Volto is running in SEAMLESS mode
Proxying API requests from http://localhost:3000/++api++ to http://localhost:8080/Plone
Did you name your new instance Plone so that you can see the Classic UI on http://localhost:8080/Plone?
yeah its showing that only.
while running the backend, it had a predefined green statement like Installing and creating a Plone instance
You are running commands in the terminal of the VSCode editor. This is fine for running a single app, but not for Plone 6, as we need to start (for development) both apps: backend and frontend.
Open one terminal and start the backend. Terminal means the app terminal. You are on a Mac, you such a thing.
Open another terminal and start the frontend.
Then see the Classic UI on http://localhost:8080/ (which we do not use in the training)
And see the Plone 6 Volto frontend on http://localhost:3000.
so basically I need to do these steps again on terminal of Mac rather than terminal of VSCode right?
I am so sorry for bothering you so much , actually I am very new to these things.Thanks for staying put
There is not much left to do.
Just open one terminal, cd to the backend directory and run make start,
and open another terminal and cd to the frontend directory and run yarn start.
You already ran the build for both.
1 Like